Portable operation has been a lot of fun for me since the IC-705 showed up in my shack. It’s a really great QRP rig and I have had a wonderful time getting out and making contacts. One of the things that I’ve found while messing around at parks or on vacation is that it would be nice sometimes to have a little more power. I’m thinking of this for when I’m operating from the Jeep or a campsite where a lot of hiking isn’t involved. I can’t imagine a world where I would carry anything more than my end-fed, tuner, and rig for a backpacking trip. I guess I would take the Lightsaver Max because it provides for true self-sufficiency on the trail, but I digress.
I’ve been looking at amps for a little while mostly out of curiosity. There are a few things out there in the world that caught my eye, but the Hardrock-50 has been on my radar for some time. It’s a kit and I do like soldering and tinkering, so it seemed like something to shortlist. As I was studying for my Extra upgrade, I decided that if I passed on the first round, I’d pick one up. And I passed!
The kit itself has a few options. I went with the amp and the ATU. I also picked up the IC-705 bluetooth interface kit that will handle band changes and PTT via the interface so that there is less fiddling with the amp when operating. It’s nice having some assurance that everything is in sync so I don’t have to worry about forgetting to change the band on the amp.
I have assembled a number of kits in my life. The bulk of those were synthesizers or other strange musical interfaces. Lots of modular units like VFOs and VCAs. I am not horrible with a soldering iron. I can read a schematic and even follow instructions (sometimes). This kit is a thing of beauty and is built with success in mind. The PCB is layed out in a very readable fashion and the documentation is fantastic. Everything from assembly to calibration is written out clearly and concisely.
The assembly is in an order that builds confidence. I’ve done kits before where the most critical and difficult portion is in the first three steps. That’s not usually a ticket to success. In this case, there is a gentle introduction via the front panel. There’s nothing too scary there and it does give the builder the lay of the land for the parts in the kit and the layout of the PCBs. This seems like a small detail and maybe it wasn’t intentional, but looking back on the build process, it was definitely a confidence booster to knock out a small piece before moving to something that was very new to me and likely to other builders.
The most intimidating part of the kit for me was winding the toroids. I’ve never done that before and somehow, much like tying knots or learning to filet a fish, I assumed that there was some kind of magic to it. Not so much, really. It’s winding wire in a metal circle. With some attention to detail and carefully following the descriptions of each toroid in the manual, I was able to get through that part of the kit rather painlessly (or so I thought). I would say that it was very satisfying detail work, like tying flies for fishing. Not that I’m any good at that (or toroids as it turns out), but I think you get the idea.
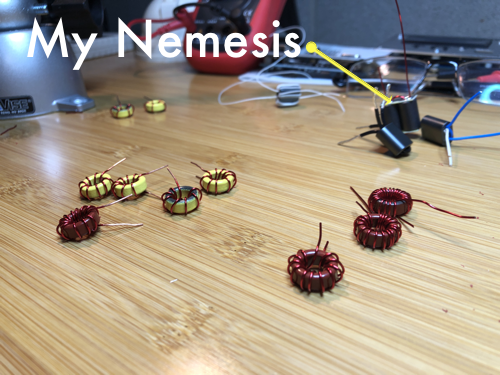
With the toroids wound, the main PCB went together much faster than I expected. It was really only an hour or two of soldering (with plenty of breaks because life works that way) before I had the rest of the amp done and ready to calibrate.
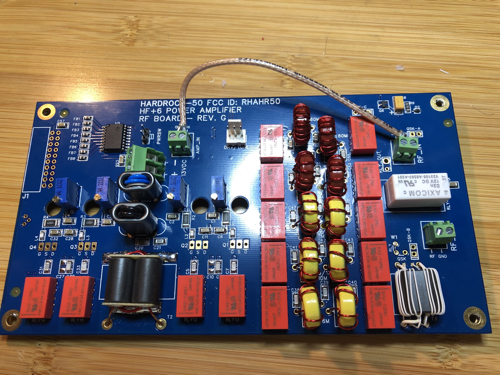
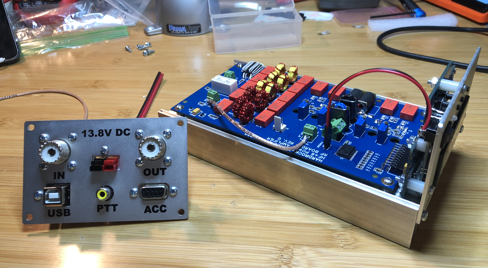
The calibration process is well documented and the way that the setup is detailed gave me the confidence I needed to put power to the thing and see if I let out any magic smoke. Which I did not! All of the tests went well. So I moved on to the ATU.
The ATU assembly was easier than the amp. Sure, there were more toroids, but by that time, my confidence was higher. There was also a pile of relays and a few bits here and there. It went quickly.
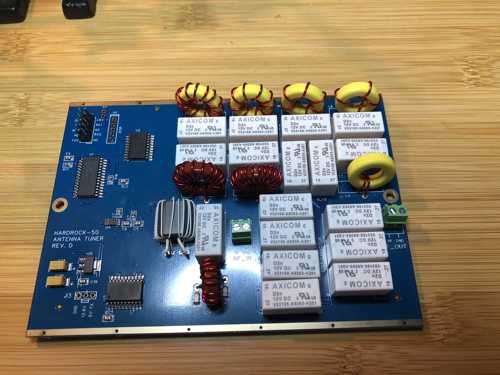
Embarrassingly enough, the hardest part for me was getting the pieces all together for closing up the box. I had to line things up just right and while there is plenty of room inside the case, it was still a bit of work for me to get it together. Full transparency: I had the ATU PCB backwards in the case. I don’t know how I managed to do that as the instructions are really, really clear and there are even pictures. But I did say that I can follow instructions SOMETIMES.
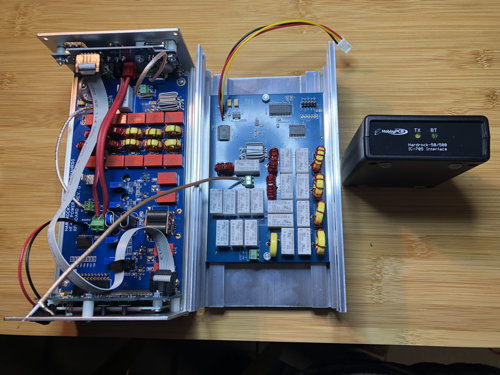
The assembly of the IC-705 Bluetooth interface was dead simple. I think the only soldering was an Arduino and a Bluetooth unit. It took maybe 10 minutes after I found the video online showing the unit. I couldn’t find the documentation for it on the website, but it really was self-explanatory. Which is my way of saying that I figured I could just wing it based on the PCB details and the parts in the bag. It probably would still be a good idea to have a single sheet on construction (and that may well exist), but I didn’t feel it was all that difficult. Your mileage my vary.
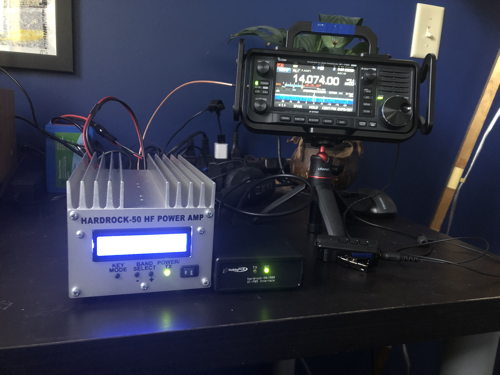
With everything boxed up, I hooked the amp up to the Bluetooth interface, a power supply, the rig, and an antenna. I started to run a few tests using FT8 as that is a pretty simple way to see if things are working.
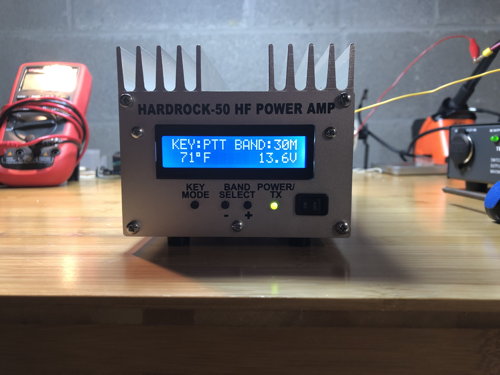
The ATU tuned up quickly with my MP1 Superantenna. It also tuned up against my attic dipole quickly. The IC-705 was reading almost 1:1.
But…
I was only getting out and being heard when I was using QRP mode or the amp was bypassed.
I scratched my head a little bit and put everything down. It’s good to step away from something when you hit a wall that pushing buttons and changing settings won’t move. I did take the time to document all of the settings and the different scenarios I ran. Then I had dinner.
And played a video game with my son.
By that point it was Sunday evening. I wrote up my findings and emailed them to the support email. Jim WA2EUJ got back to me within minutes. I was a little shocked. Given the details of my testing and another attempt at transmission while measuring current draw, he was able to narrow down a few things. The signal from in to out was working fine. The ATU was operational. In fact, a good many things were working! That said, RF wasn’t getting to the amp. It’s no surprise that he’s seen this before and pulled three things off the shelf that I might investigate. I can’t recall having a more helpful or productive email exchange.
I chased down the things that he listed, but while a behavior or two changed, no RF was flowing. Since my bench doesn’t have nearly the test equipment that his does (and frankly, I don’t have recent enough experience to warrant screwing around with it) he suggested that I box it up and ship it to him, which happened the next day. I watched anxiously as it moved on down the road and landed on his doorstep.
That night, I got an email saying that things generally looked well done. But one of the toroids was shorting out. Clearly, I did something weird or nicked a wire. He rewound it, popped it back in, and it was singing. He also cleaned up a thing or two for me and even updated the firmware. The attention to detail was impressive.
In the manual there is a line about how a fully functioning amplifier is included in the price of the kit. This team is dedicated to the support of their kit and I can’t recommend them highly enough! I cannot recall any better support on any product I have ever purchased in any setting. My email exchange was so far beyond my expectations and the turn around on getting it running was extraordinary. Again, I would recommend this kit to anyone who is into kits and radio.
When the box landed back on my porch, I was pretty excited to dig in. I pulled it out, powered it up and right off the bat, I was heard from California to Eastern Europe. And THAT was exactly what I was hoping for.
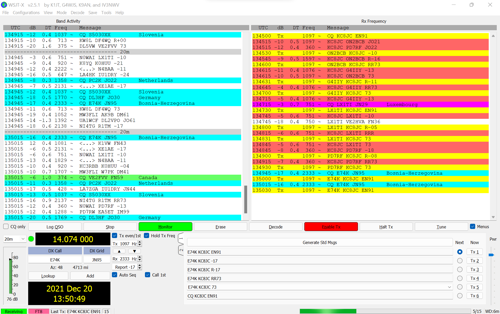
The next step for me will be to get this thing out into the field and have some fun with it. I’ll be taking notes on performance, battery consumption, and how things go when presented with The Real World. As of this writing, I am optimistic!
![]()